A template to help students at the University of Bristol with their Mathematical Investigations projects

\documentclass[a4paper,11pt]{article}

\usepackage{amsmath}
\usepackage{amssymb}
\usepackage{amsthm}
\usepackage{graphicx}
\usepackage{enumerate}
%you can add more packages using the same code above

%------------------

%\setlength{\topmargin}{0.0in}
%\setlength{\textheight}{10in}
%\setlength{\oddsidemargin}{0.0in}
%\setlength{\evensidemargin}{0.0in}
%\setlength{\textwidth}{6.5in}

%-------------------
\newtheorem{theorem}{Theorem}[section]
\newtheorem{proposition}[theorem]{Proposition}
\newtheorem{lemma}[theorem]{Lemma}
\newtheorem{corollary}[theorem]{Corollary}
\newtheorem{conjecture}[theorem]{Conjecture}


\theoremstyle{definition}
\newtheorem{definition}[theorem]{Definition}
\newtheorem*{example}{Example}

%------------------

%Everything before begin document is called the pre-amble and sets out how the document will look
%It is recommended you don't touch the pre-amble until you are familiar with LateX

\begin{document}

\title{A template and example of Latex}
\author{authors in alphabetical order}
\date{}
\maketitle

\begin{abstract}
Some sorts of documents need abstracts. Others do not.
\end{abstract}

%The following code is not run because of the percentage sign, but you might find it useful for future work
% \tableofcontents

\section{Introduction}

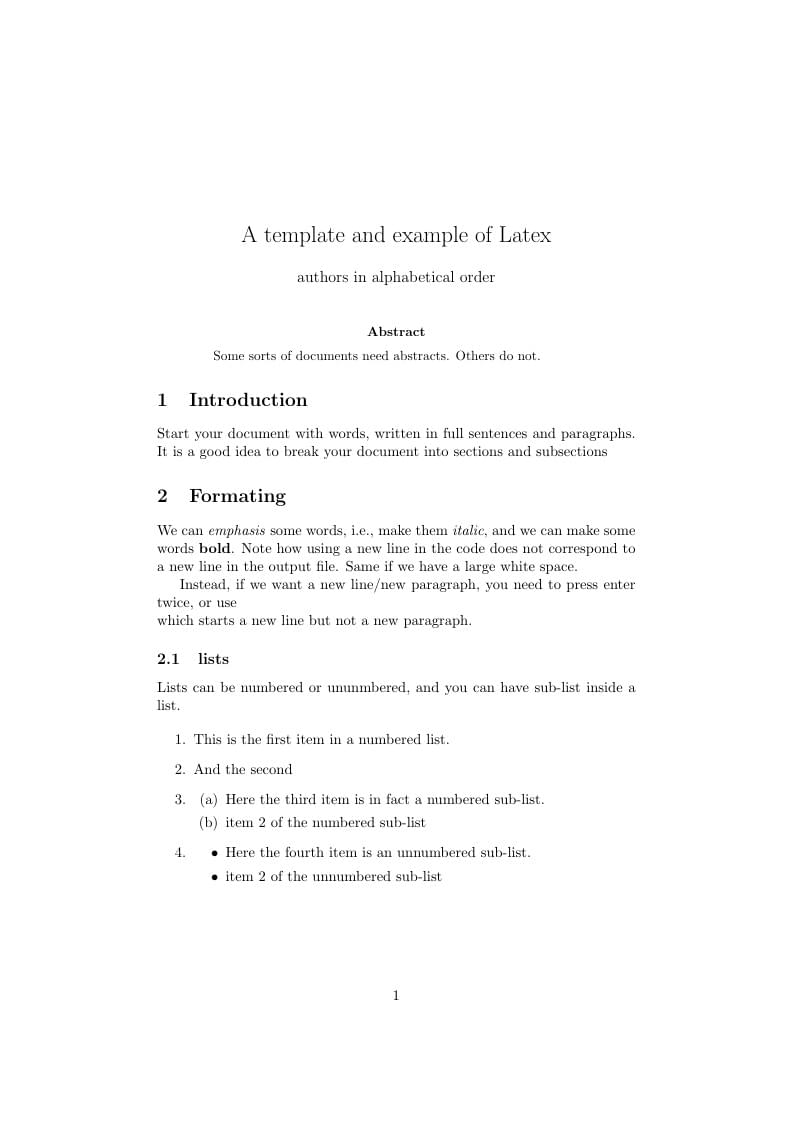
Start your document with words, written in full sentences and paragraphs.
%Using the percentage symbol, you can include comments in your code that do not appear in the output.
It is a good idea to break your document into sections and subsections

\section{Formating}

We can \emph{emphasis} some words, i.e., make them \emph{italic}, and we can make some words \textbf{bold}.
Note how using a new line in the code does not correspond to a new line in the output file.
Same if we have        a           large                white                   space.

Instead, if we want a new line/new paragraph, you need to press enter twice, or use \\
which starts a new line but not a new paragraph.

\subsection{lists}

Lists can be numbered or ununmbered, and you can have sub-list inside a list.

\begin{enumerate}
	\item This is the first item in a numbered list.

	\item And the second

	\item
	\begin{enumerate}
		\item Here the third item is in fact a numbered sub-list.
		\item item 2 of the numbered sub-list
	\end{enumerate}

	\item
	\begin{itemize}
		\item Here the fourth item is an unnumbered sub-list.
		\item item 2 of the unnumbered sub-list
	\end{itemize}
\end{enumerate}

\subsection{Definitions and theorems}

Definitions, theorems, lemmas and so on, are 'enviroments' (like documents and lists). They need to begin and end.

\begin{definition}\label{my_def}
	A \emph{label} allows the user to tell Latex 'remember the numbering of that definition/theorem/equation'
\end{definition}

\begin{lemma} \label{my_lem}
	If something has a label, then we can refer to it, without knowing what number it is
\end{lemma}

\begin{proof}
	For example, by calling up Definition \ref{my_def}. This works even if the ordering of things move.
	Note that the end of proof square box is already there
\end{proof}

\begin{theorem}
	And a final theorem
\end{theorem}

\begin{proof}
	Combining Definition \ref{my_def} with Lemman \ref{my_lem} we get Equation \ref{my_eqn} below.
\end{proof}

\section{Including maths}

Some maths, like $\varepsilon>0$ or $a_{23}=\alpha^3$, is written in-line. More important or complex maths is displayed on its own line.
For example, $$ \lim_{x\to\infty}f(x)=\frac{\pi}{4}.$$

Sometimes you need multiple lines of maths to line up nicely:

\begin{align*}
f(x+y)&=(x+y,-2(x+y))\\
&=(x,-2x)+(y,-2y)\\
&=f(x)+f(y),
\end{align*}

and sometimes you want to number lines in an equation

\begin{align}
A^{T} & =\begin{pmatrix}1 & 2\\
3 & 4
\end{pmatrix}^{T}\\
\label{my_eqn}  & =\begin{pmatrix}1 & 3\\
2 & 4
\end{pmatrix}
\end{align}

\section{References and Figures}
\LaTeX{} \cite{lamport94} also allows you to cite your sources. For more details on how this can be done, we refer the reader to \cite[sec:~Embedded System]{referencing}. But once you have a bibliography, you can use the cite command easily. Finally we add Figure \ref{fig:logo} to show how to add graphics. Note that we first need to make sure to have the graphic uploaded to Overleaf or saved in the same folder as your tex file (whichever is relevant to your case). Notice how the picture was resized using the scale command and that \LaTeX{} determine that the picture looks better above.

\begin{figure}
    \centering
    \includegraphics[scale=0.3]{logo-full-colour.png}
    \caption{The logo for the University of Bristol}
    \label{fig:logo}
\end{figure}


\begin{thebibliography}{99}

\bibitem{lamport94}
  Leslie Lamport,
  \textit{\LaTeX: a document preparation system},
  Addison Wesley, Massachusetts,
  2nd edition,
  1994.

\bibitem{referencing}
    Wikibooks,
    \textit{LaTeX/Bibliography Management},
    [0nline],
    Accessed at https://en.wikibooks.org/wiki/LaTeX/Bibliography\_Management,
    (DATE ACCESSED).


\end{thebibliography}

\end{document}