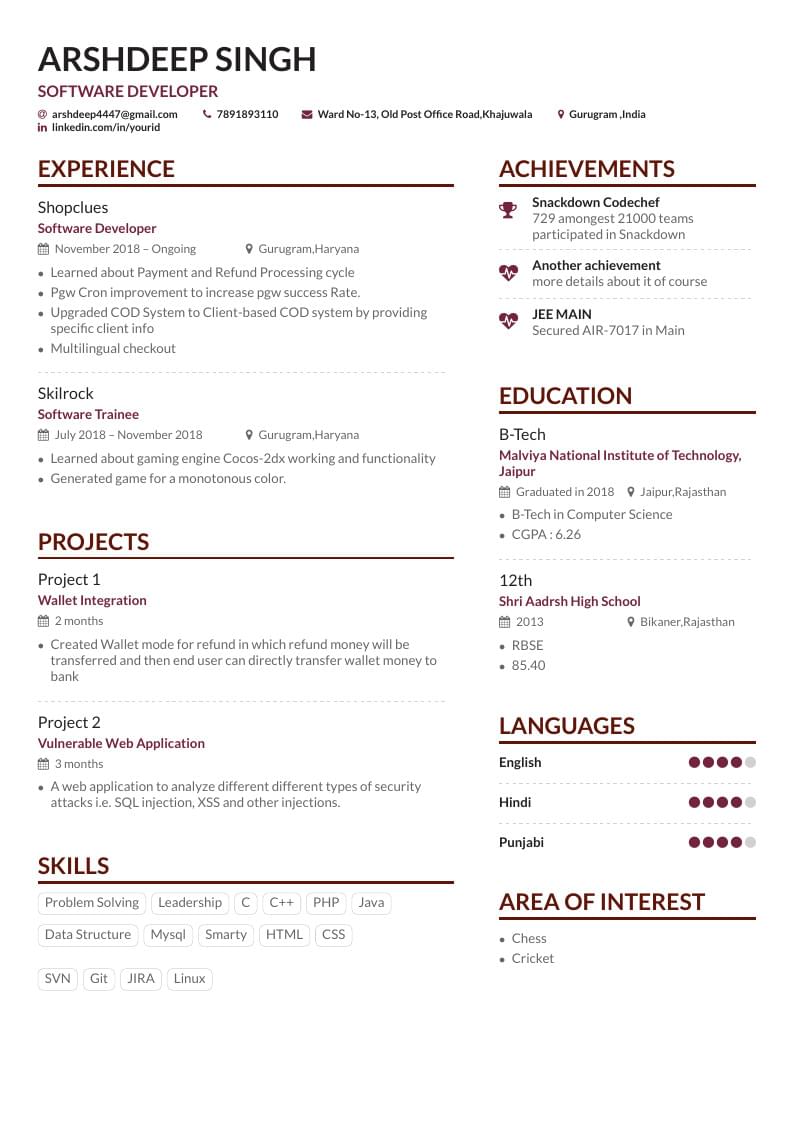
Arshdeep Singh's Resume for IT. Created with the AltaCV template.

%%%%%%%%%%%%%%%%%
% This is an sample CV template created using altacv.cls
% (v1.1.4, 27 July 2018) written by LianTze Lim (liantze@gmail.com). Now compiles with pdfLaTeX, XeLaTeX and LuaLaTeX.
%
%% It may be distributed and/or modified under the
%% conditions of the LaTeX Project Public License, either version 1.3
%% of this license or (at your option) any later version.
%% The latest version of this license is in
%%    http://www.latex-project.org/lppl.txt
%% and version 1.3 or later is part of all distributions of LaTeX
%% version 2003/12/01 or later.
%%%%%%%%%%%%%%%%

%% If you need to pass whatever options to xcolor
\PassOptionsToPackage{dvipsnames}{xcolor}

%% If you are using \orcid or academicons
%% icons, make sure you have the academicons
%% option here, and compile with XeLaTeX
%% or LuaLaTeX.
% \documentclass[10pt,a4paper,academicons]{altacv}

%% Use the "normalphoto" option if you want a normal photo instead of cropped to a circle
% \documentclass[10pt,a4paper,normalphoto]{altacv}

\documentclass[10pt,a4paper]{altacv}
%% AltaCV uses the fontawesome and academicon fonts
%% and packages.
%% See texdoc.net/pkg/fontawecome and http://texdoc.net/pkg/academicons for full list of symbols.
%%
%% Compile with LuaLaTeX for best results. If you
%% want to use XeLaTeX, you may need to install
%% Academicons.ttf in your operating system's font
%% folder.


% Change the page layout if you need to
\geometry{left=1cm,right=9cm,marginparwidth=6.8cm,marginparsep=1.2cm,top=1.25cm,bottom=1.25cm,footskip=2\baselineskip}

% Change the font if you want to.

% If using pdflatex:
\usepackage[T1]{fontenc}
\usepackage[utf8]{inputenc}
\usepackage[default]{lato}

% If using xelatex or lualatex:
% \setmainfont{Lato}

% Change the colours if you want to
\definecolor{Mulberry}{HTML}{72243D}
\definecolor{SlateGrey}{HTML}{2E2E2E}
\definecolor{LightGrey}{HTML}{666666}
\colorlet{heading}{Sepia}
\colorlet{accent}{Mulberry}
\colorlet{emphasis}{Black}
\colorlet{body}{LightGrey}

% Change the bullets for itemize and rating marker
% for \cvskill if you want to
\renewcommand{\itemmarker}{{\small\textbullet}}
\renewcommand{\ratingmarker}{\faCircle}
%% sample.bib contains your publications
\addbibresource{sample.bib}

\usepackage[colorlinks]{hyperref}

\begin{document}

\name{ARSHDEEP SINGH }
\tagline{SOFTWARE DEVELOPER }

\personalinfo{%
  % Not all of these are required!
  % You can add your own with \printinfo{symbol}{detail}
  \email{arshdeep4447@gmail.com }
  \phone{7891893110}
  \mailaddress{Ward No-13, Old Post Office Road,Khajuwala }
  \location{Gurugram ,India}
  \linkedin{linkedin.com/in/yourid}
  %% You MUST add the academicons option to \documentclass, then compile with LuaLaTeX or XeLaTeX, if you want to use \orcid or other academicons commands.
%   \orcid{orcid.org/0000-0000-0000-0000}
}

%% Make the header extend all the way to the right, if you want.
\begin{fullwidth}
\makecvheader
\end{fullwidth}

%% Depending on your tastes, you may want to make fonts of itemize environments slightly smaller
% \AtBeginEnvironment{itemize}{\small}


%% Provide the file name containing the sidebar contents as an optional parameter to \cvsection.
%% You can always just use \marginpar{...} if you do
%% not need to align the top of the contents to any
%% \cvsection title in the "main" bar.

\cvsection[page1sidebar]{Experience}

\cvevent{Shopclues}{Software Developer}{November 2018 -- Ongoing}{Gurugram,Haryana}
\begin{itemize}
\item Learned about Payment and Refund Processing cycle
\item Pgw Cron improvement to increase pgw success Rate.
\item Upgraded COD System to Client-based COD system by providing specific client info
\item Multilingual checkout
\end{itemize}

\divider

\cvevent{Skilrock}{Software Trainee}{July 2018 -- November 2018}{Gurugram,Haryana}
\begin{itemize}
\item Learned about gaming engine Cocos-2dx working and functionality

\item Generated game for a monotonous color.
\end{itemize}

\vspace{7mm}
\cvsection{Projects}

\cvevent{Project 1}{Wallet Integration}{2 months}{}
\begin{itemize}
\item Created Wallet mode for refund in which refund money will be transferred and then end user can directly transfer wallet money to bank
\end{itemize}

\divider

\cvevent{Project 2}{Vulnerable Web Application}{3 months}{}
\begin{itemize}
\item A web application to analyze different different types of security attacks i.e. SQL injection, XSS and other injections.
\end{itemize}


\vspace{7mm}
\cvsection{Skills}

\cvtag{Problem Solving}
\cvtag{Leadership}
\cvtag{C}
\cvtag{C++}
\cvtag{PHP}
\cvtag{Java}


\divider\smallskip
\cvtag{Data Structure}
\cvtag{Mysql}
\cvtag{Smarty}
\cvtag{HTML}
\cvtag{CSS}

\divider\smallskip
\cvtag{SVN}
\cvtag{Git}
\cvtag{JIRA}
\cvtag{Linux}


\medskip

\clearpage

%% If the NEXT page doesn't start with a \cvsection but you'd
%% still like to add a sidebar, then use this command on THIS
%% page to add it. The optional argument lets you pull up the
%% sidebar a bit so that it looks aligned with the top of the
%% main column.
% \addnextpagesidebar[-1ex]{page3sidebar}

\end{document}